Practical portrait guide
How to Choose the Best Photo for a Custom Pet Portrait
A strong portrait starts with a photo that clearly shows what makes your pet recognizable. Use this checklist before you upload.
By Izzy's Playground editorial team · Reviewed by Izzy's Playground product team · Updated
Start with the face, not the background
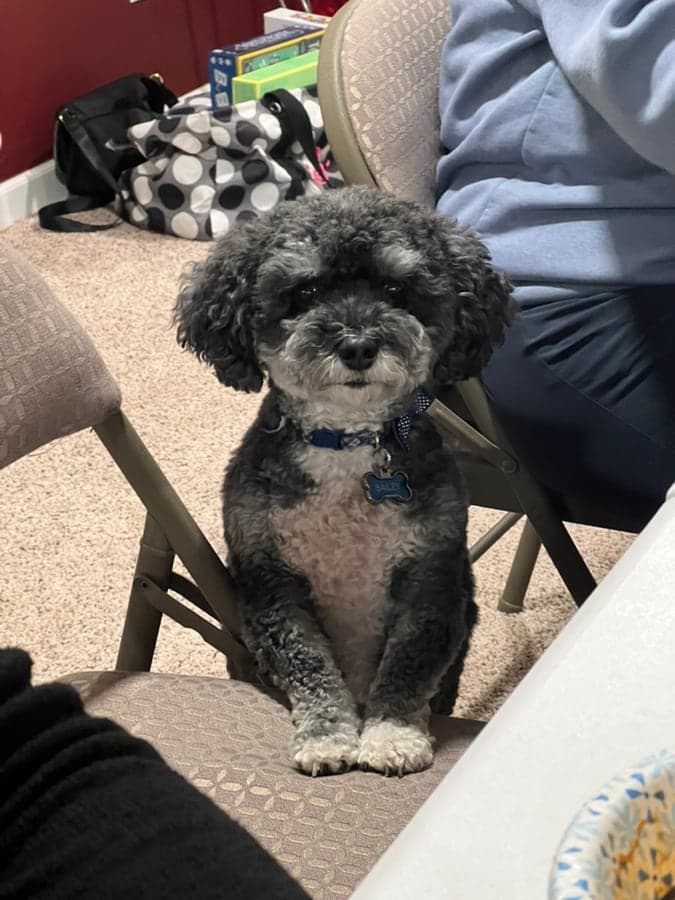
The best source image makes your pet's face the easiest part of the photo to understand. Their eyes, nose, ear shape, fur pattern, and expression should be visible without zooming through a dark or blurry image. A plain background is helpful, but it matters less than a clear subject because the portrait is built around the pet rather than the room behind them.
A straight-on or gently angled view is usually the safest choice. Side profiles can work when the profile itself is important, but a photo where the face turns completely away gives the portrait less information about both eyes and the full muzzle. Leave a little space around the head and ears so distinctive features are not clipped at the edge.
- Both eyes are visible when that is natural for the pet.
- The nose, ears, and outer edge of the head are in frame.
- The face is large enough to inspect without heavy digital zoom.
- Collars or favorite accessories do not cover important markings.
Use soft, even light and honest color
Window light, open shade, or a bright overcast day usually reveals fur texture without harsh shadows. Strong light directly behind the pet can turn the face into a silhouette, while a close flash can flatten detail or create bright eye reflections. If you can choose, place the light in front of or slightly beside the pet.
Avoid heavy filters before uploading. A filter that changes white balance, contrast, or coat color can make a cream dog look orange or hide subtle markings on a black cat. The finished art can be stylized later; the source photo should preserve the pet's real colors and features first.
Pick sharp focus over a perfect pose
A spontaneous photo with a recognizable expression is often more useful than a formal pose that is motion-blurred. Check the eyes and the edges of the fur at full size. If they look smeared or blocky, compare another photo before uploading. Screenshots from social media and images repeatedly sent through messaging apps may have lost detail even when they look fine as a small thumbnail.
One pet per source photo gives the clearest starting point. If you want artwork with more than one pet, choose a strong photo of each pet rather than relying on a group shot where one face is tiny, blocked, or farther from the camera.
Working with an older or memorial photo
Sometimes the meaningful photo is the only photo available. Use the original file or the highest-resolution scan you can find, not a screenshot of a screenshot. For a printed photograph, scan it flat in even light and crop out the frame only after you have saved the full scan. Do not enlarge a tiny file repeatedly; enlargement cannot restore facial detail that is no longer present.
When choosing between sentimental options, prioritize the image that best preserves the pet’s expression and identifying markings. A little background clutter is usually less limiting than a covered eye, a missing ear, or severe blur. The on-site preview is the final check: look closely at the finished face before you move on to a product.
Final photo checklist
Before uploading, open the image at full size and answer the questions below. If one item is weak, compare a second photo rather than assuming the art style will replace missing detail. Save the original file unchanged so you can return to it if a crop, filter, or compressed copy produces a weaker preview.
- Is the pet’s face sharp and bright enough to inspect?
- Are the eyes, ears, nose, and distinctive markings visible?
- Does the color look natural, without a heavy filter?
- Is this the original or highest-quality copy available?
- Does the expression feel like the pet you want to remember?
- Can you review the generated portrait carefully before printing?